
Keep the delivery together while you check it
Before opening the packages, note how many cartons have arrived and compare that with the delivery information. A large order may travel in more than one box. Keeping the cartons together makes it easier to understand the complete delivery before individual groups start taking their shares.
Choose a clean, well-lit surface and keep the packing information nearby. Photograph any visible damage to the outer packaging before removing it. You do not need an elaborate receiving system: an order number, a delivery date and a place to save photographs are enough to make a later conversation much clearer.
Look at the pin as a complete item
Open a small group of pins and compare them with the proof you approved. Read the wording and year, then check the shape, finish and attachment. Turn a pin over as well as looking at the front. Fit its back and make sure the complete item is ready for the way you intend to present it.
If there are several designs or milestone versions, look at each version separately. A quick glance at the first design will not tell you whether a second year or different line of text is correct. If something needs attention, keep the affected pins together and contact us with the order number and clear photographs. Our proof-match guarantee explains the next steps.
Count for the people who will receive them
Use the event roster to turn the order into manageable groups. For a ceremony, that might mean one group for each class. For a volunteer event, it could mean a bundle for each shift leader. For staff recognition, separate the milestone designs before building individual presentation sets.
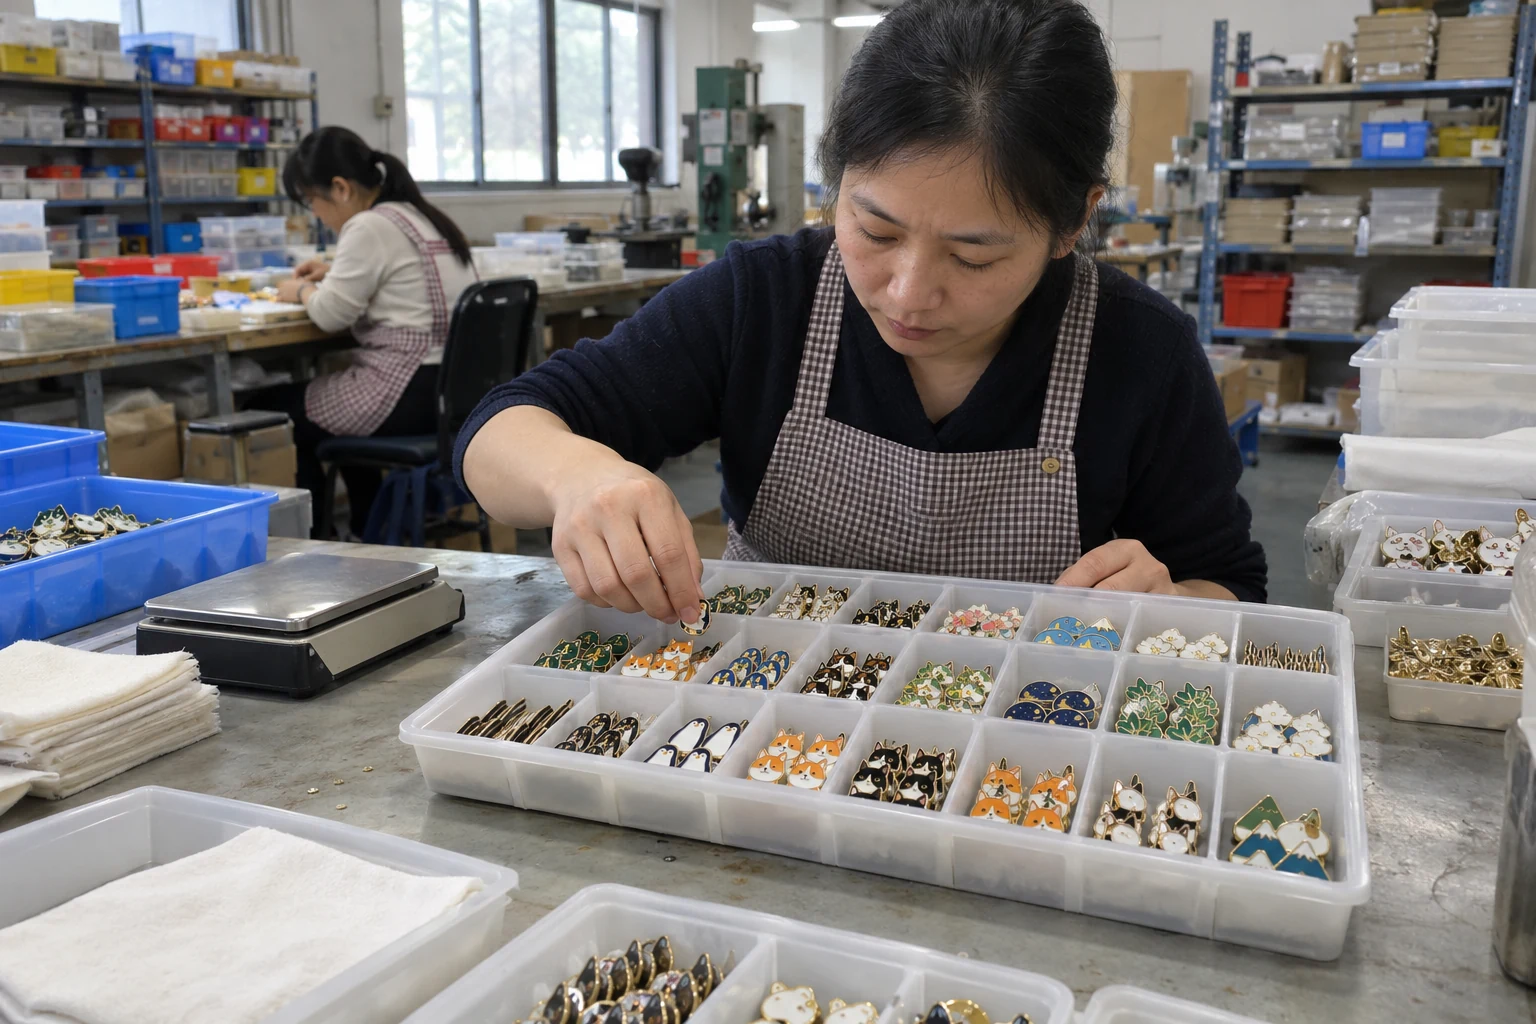
Count each group before closing its container, and write the quantity where the next person can see it. Keep the total on a single list. This is especially useful when two people are preparing the order: each can work on a different group without losing track of what has already been counted.
Prepare the presentation table once
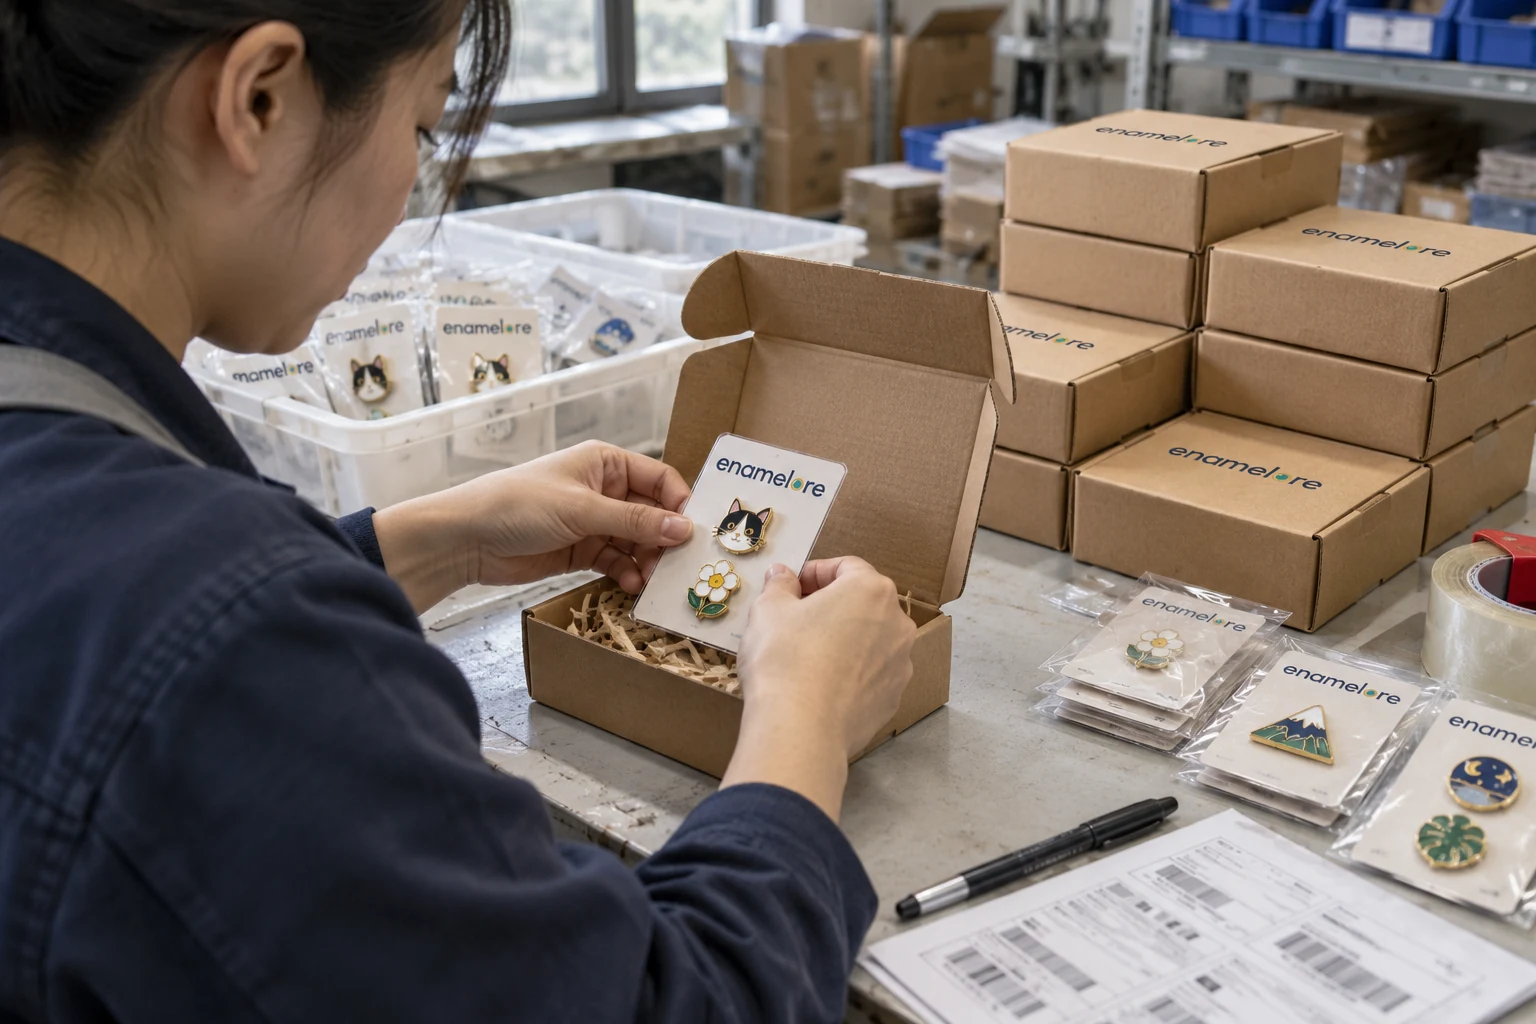
Try one complete handover before preparing the rest. Take a pin from its package, pair it with the card or certificate, and decide where the empty packaging will go. This simple rehearsal often reveals small tasks that would otherwise slow down the presentation.
Keep the work area divided into three clear places: items still to prepare, finished presentation sets and spare supplies. Store pins with their backs attached, and keep loose pins away from the recipient lists and printed materials. A shallow tray can help keep a working group together without spreading it across the table.
For a formal ceremony, check the sequence with the event organizer. The pinning ceremony guide covers presentation planning in more detail.
Give the spare pins an owner
Keep the pins allocated as spares separate from the main distribution. Write down who holds them and where that person will be during the event. That gives late arrivals and replacement requests a clear destination.
A group leader who collects a bundle should receive its count at the same time. Record that handover, then return any unused pins to the designated spare supply. You will finish the day with a useful remaining quantity instead of several uncertain piles.
Keep a reference for the next occasion
Save the approved proof, order details and one reference pin together after the event. Add a short note about the quantity used and whether the presentation format worked well. These details are easier to capture now than to reconstruct when the next organizer takes over.
Keep the remaining pins dry and protected between occasions; our pin care guide covers cleaning and storage. When the next event comes around, you will have both a design reference and a practical record of how the pins were handed out.