Quality & delivery
The details you notice when you hold a pin.
The outline, the color, the feel of the edge, the way the back fits. A finished pin needs all of these details to work together.
The approved design and order specification give our team and manufacturing partners a shared reference through production and packing.
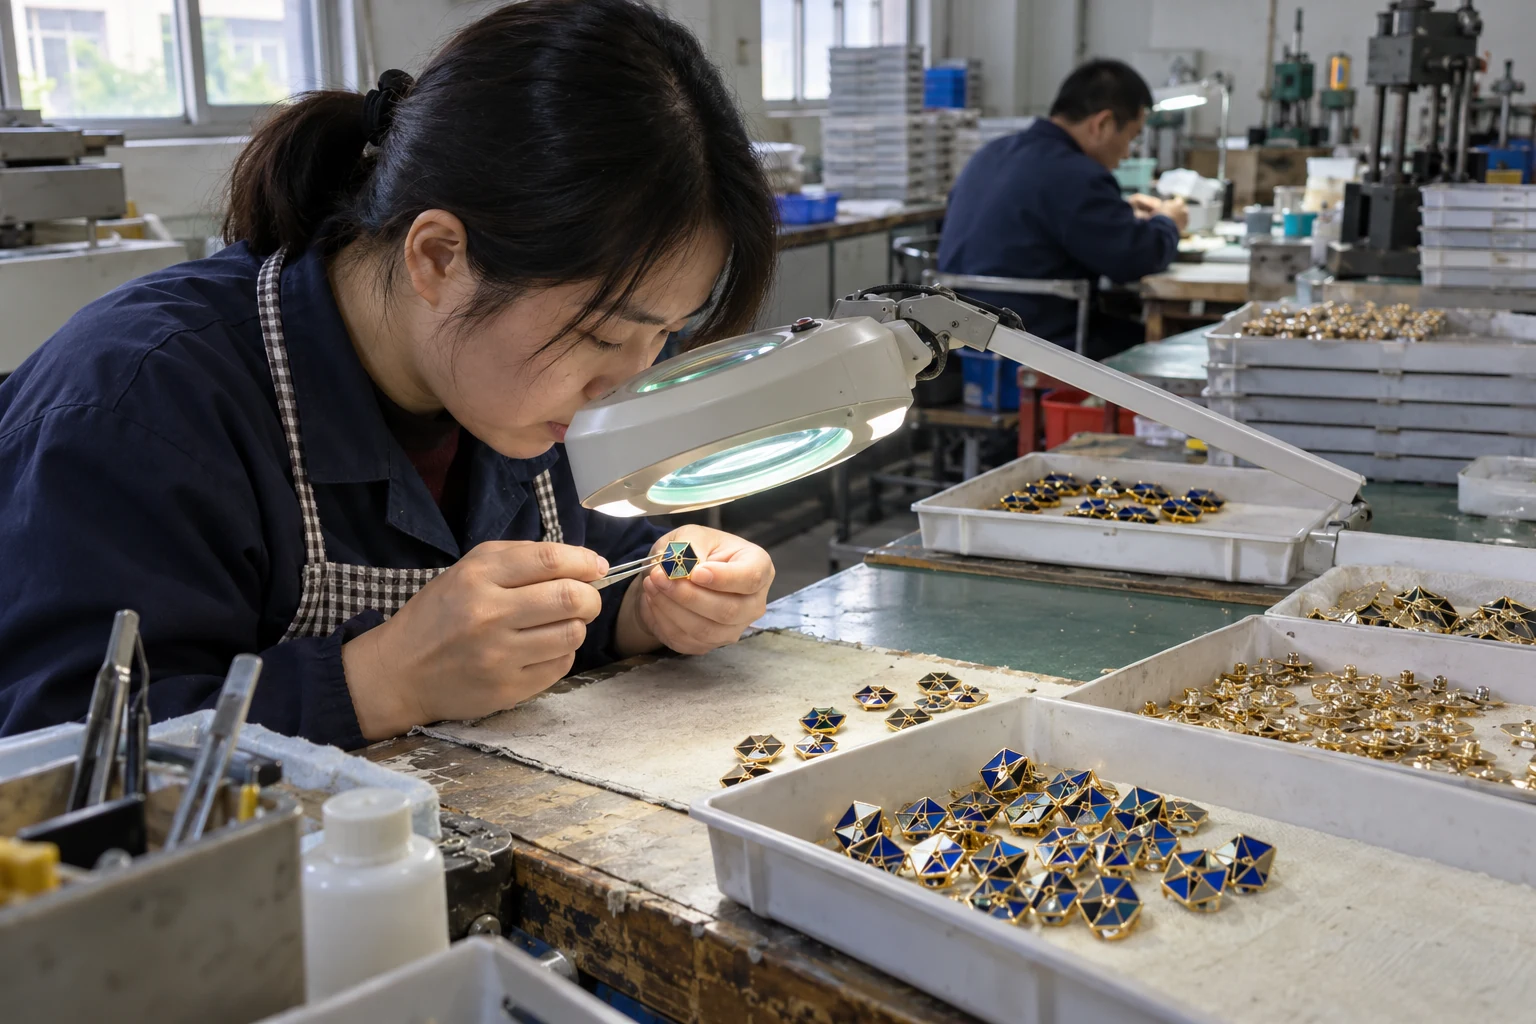
01 · The reference
Start with a proof that answers the right questions.
The proof is where the design becomes specific. Check the wording, dates, outline, color placement and selected size. Consider the lettering at the size the pin will actually be, as well as on a large screen.
Keep the proof alongside the order details for the finish, attachment, quantity and packaging. If you are ordering several versions, make clear which details are shared and which change from one version to another.
Production starts after the digital proof is approved. A request for a different detail should be resolved in that reference before the order moves forward.
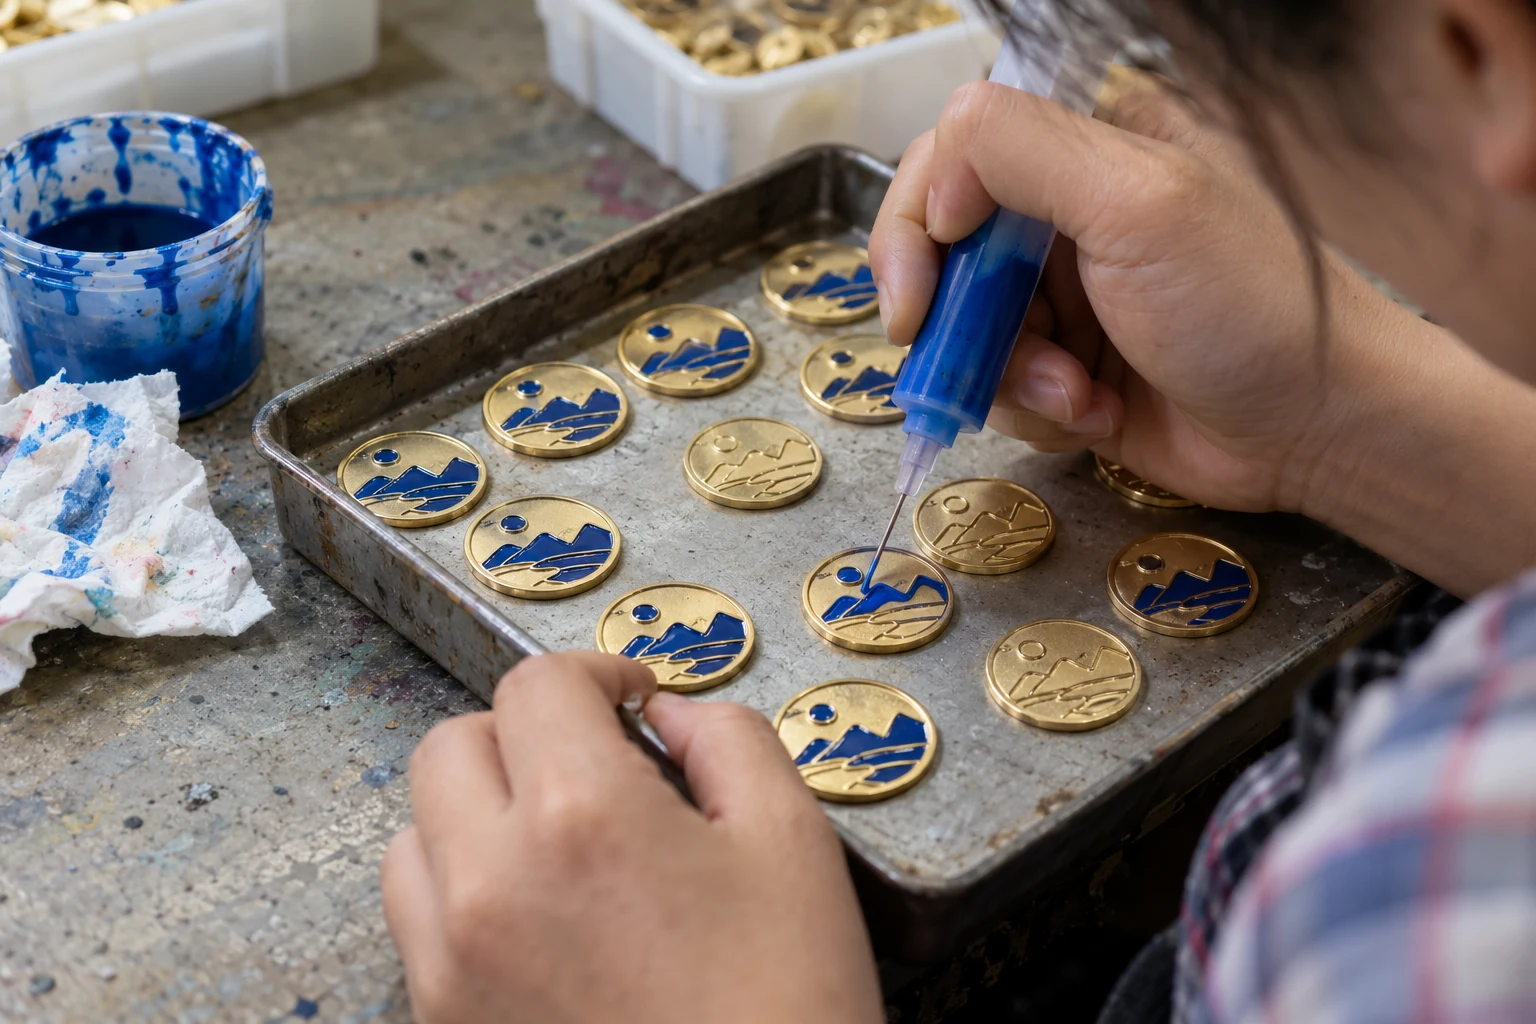
02 · The surface
Read the design in the finished material.
Metal and enamel behave differently from a design on a monitor. Raised edges, recessed color and polished surfaces each affect how a pin looks when the light moves across it.
The finish should suit the design you chose. When reviewing a sample, look at both the overall impression and the smaller details: color boundaries, visible marks, the clarity of the lettering and the edge around the outline.
Our soft and hard enamel guide explains the differences between those surfaces. The blog also has a practical in-hand sample checklist.
03 · The fit
The front is only part of the pin.
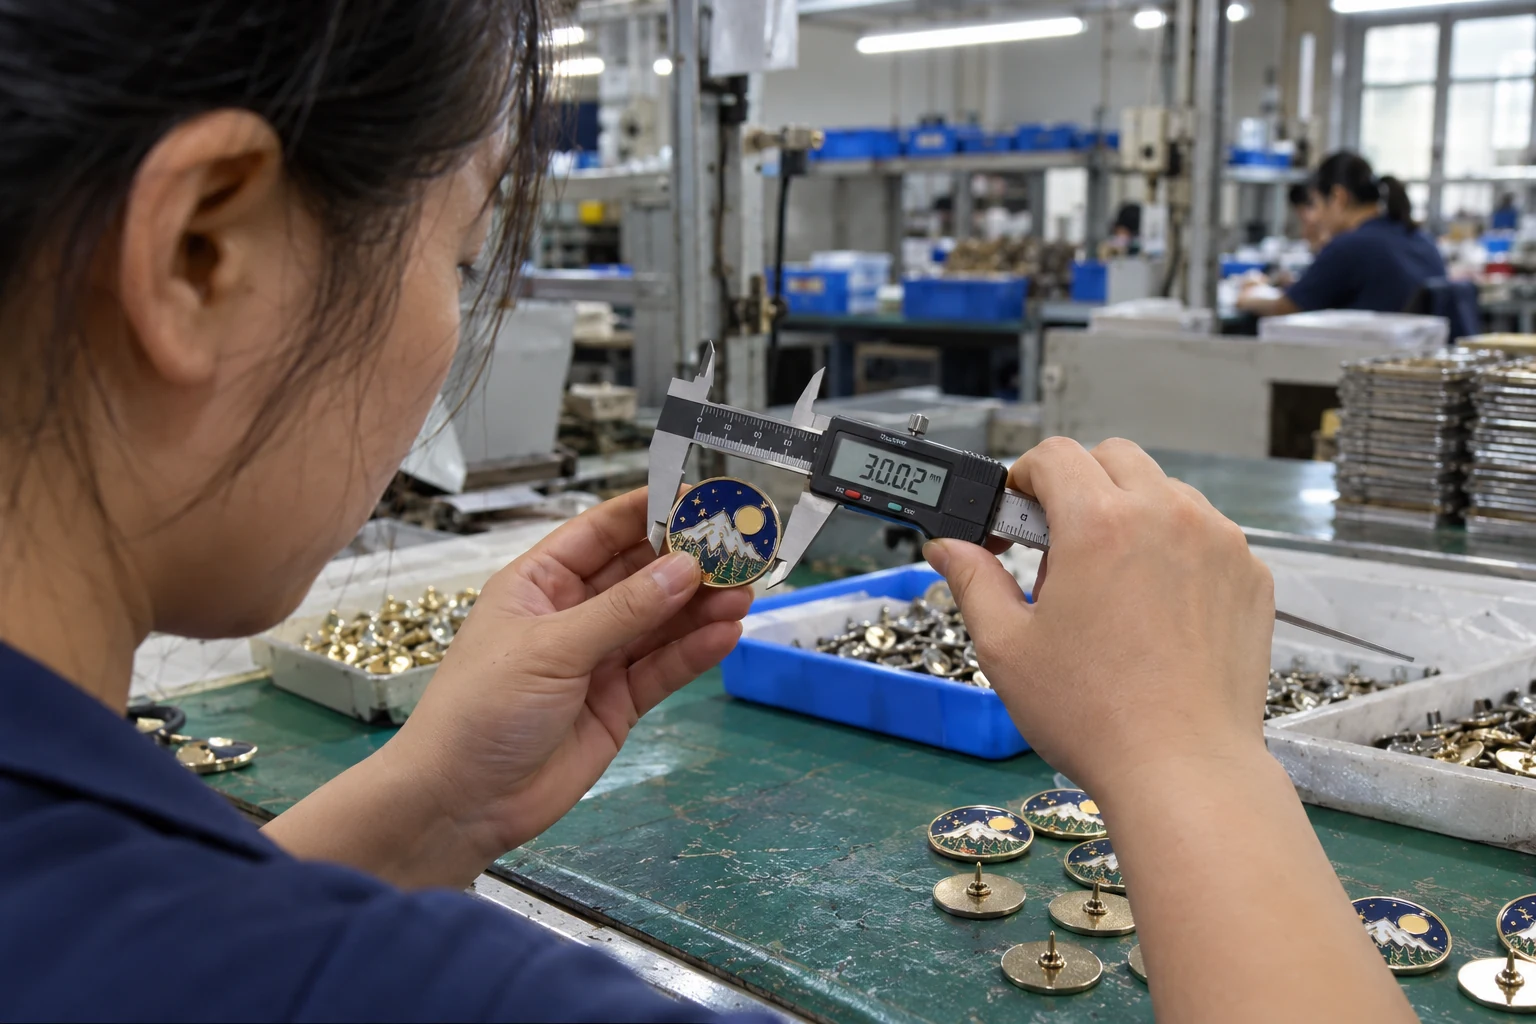
Size and attachment matter once the pin leaves its presentation box. A design that feels right on a jacket may need a different balance on a lightweight shirt, lanyard or display card.
Measurements should follow the agreed specification. The back should also match the selected option and fit the pin securely. For a large or unusually shaped design, attachment placement deserves attention alongside the artwork.
Share how you intend to use the pins when choosing the back. You can compare the options in the pin backs guide.
04 · The handover
Count, pack and identify the order.
Photos of the finished pins give you a view of the order before it ships. Packing then needs to protect the pieces and make the contents understandable when they arrive.
For a design with several versions, keep quantities and labels consistent with the order list. If you need a particular presentation format or grouping, include that in the quote discussion so the packing arrangements can be confirmed.
A delivery date is part of the plan too. Tell us when the pins will be handed out and allow time to receive, check and organize them. See shipping and delivery for the current options.

When the box arrives
Take a moment before the event.
Open the cartons with the order details nearby. Check the designs and quantities, then keep the pins in their protective packaging until they are needed. It is much easier to sort out a question at the receiving table than during a busy presentation.
If something does not match the approved proof, contact us with the order reference and clear photos. Our guarantee sets out the available remedy. Keep the packaging while we work through the issue with you.
Read the receiving and handover checklist →Let’s work through the details.
Tell us about your design, how it will be worn and when you need it.