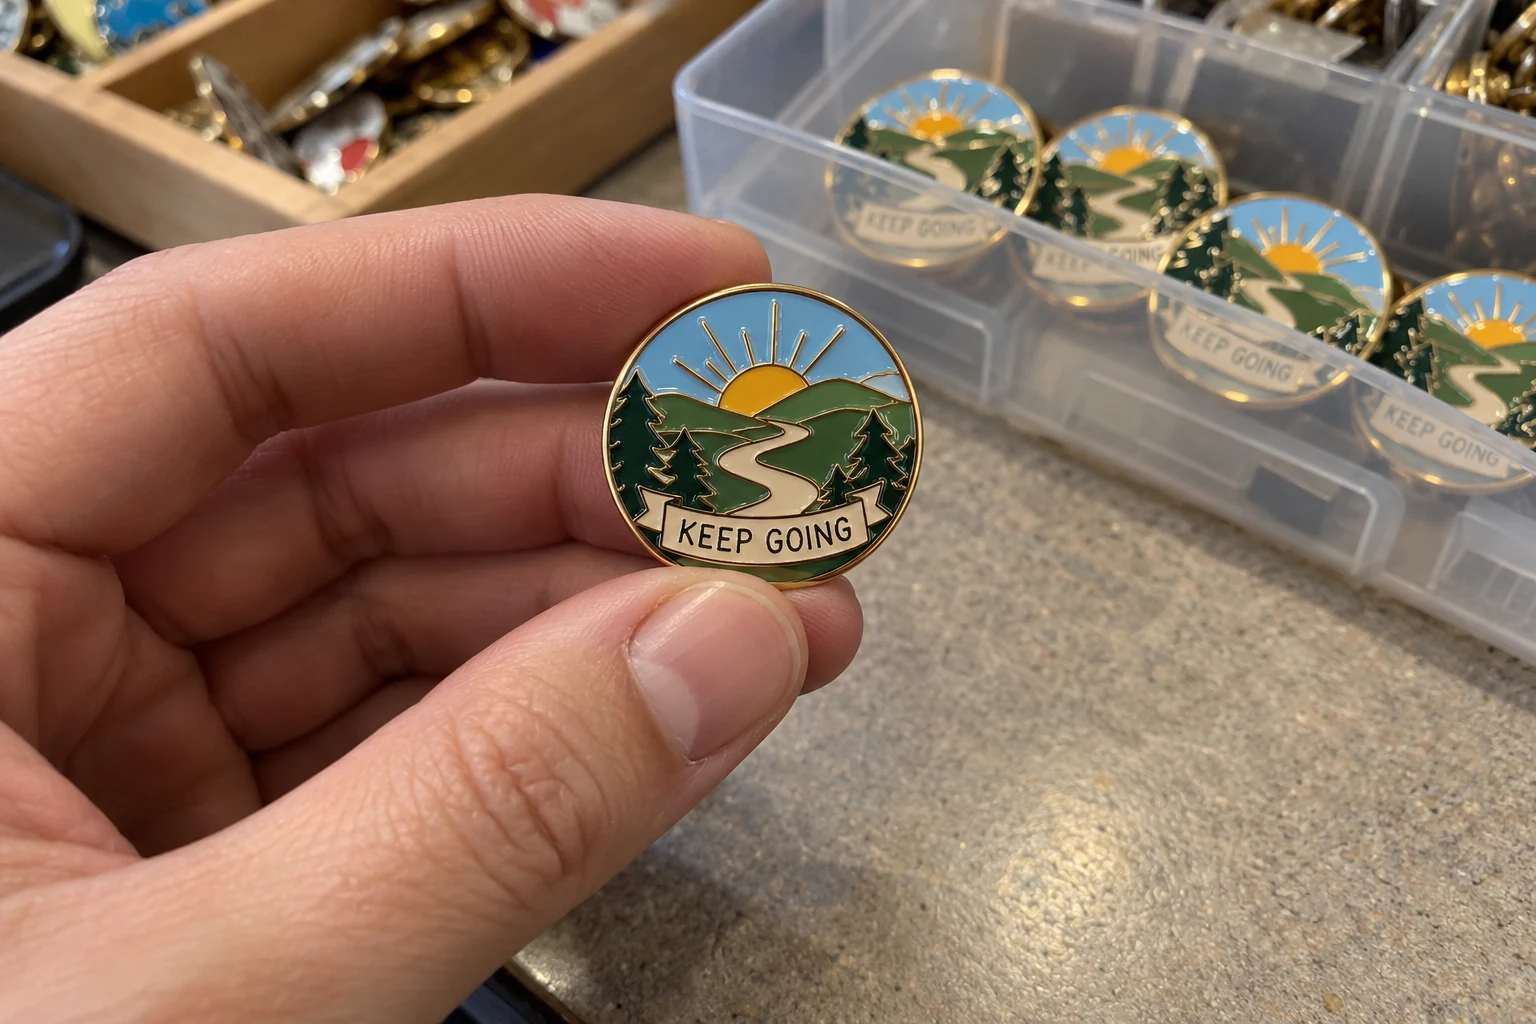
Start with a normal viewing distance
Put the pin on the table before you bring it close to your eyes. Look at it from the distance someone would see it on a jacket, a uniform or a bag. Notice which part you recognize first: the shape, the main symbol, the name or the color.
Then pick it up and read the smaller details. This gives you two useful observations: how the design works as a whole, and how its individual elements look up close. Write down the first thing you noticed. It is often the clearest indication of what the finished design emphasizes.
Check the size against its destination
Hold the sample against the garment or display where you expect to use it. A narrow wordmark and a round badge can have the same longest dimension and still feel quite different. Look at both height and width, and check the surrounding space.
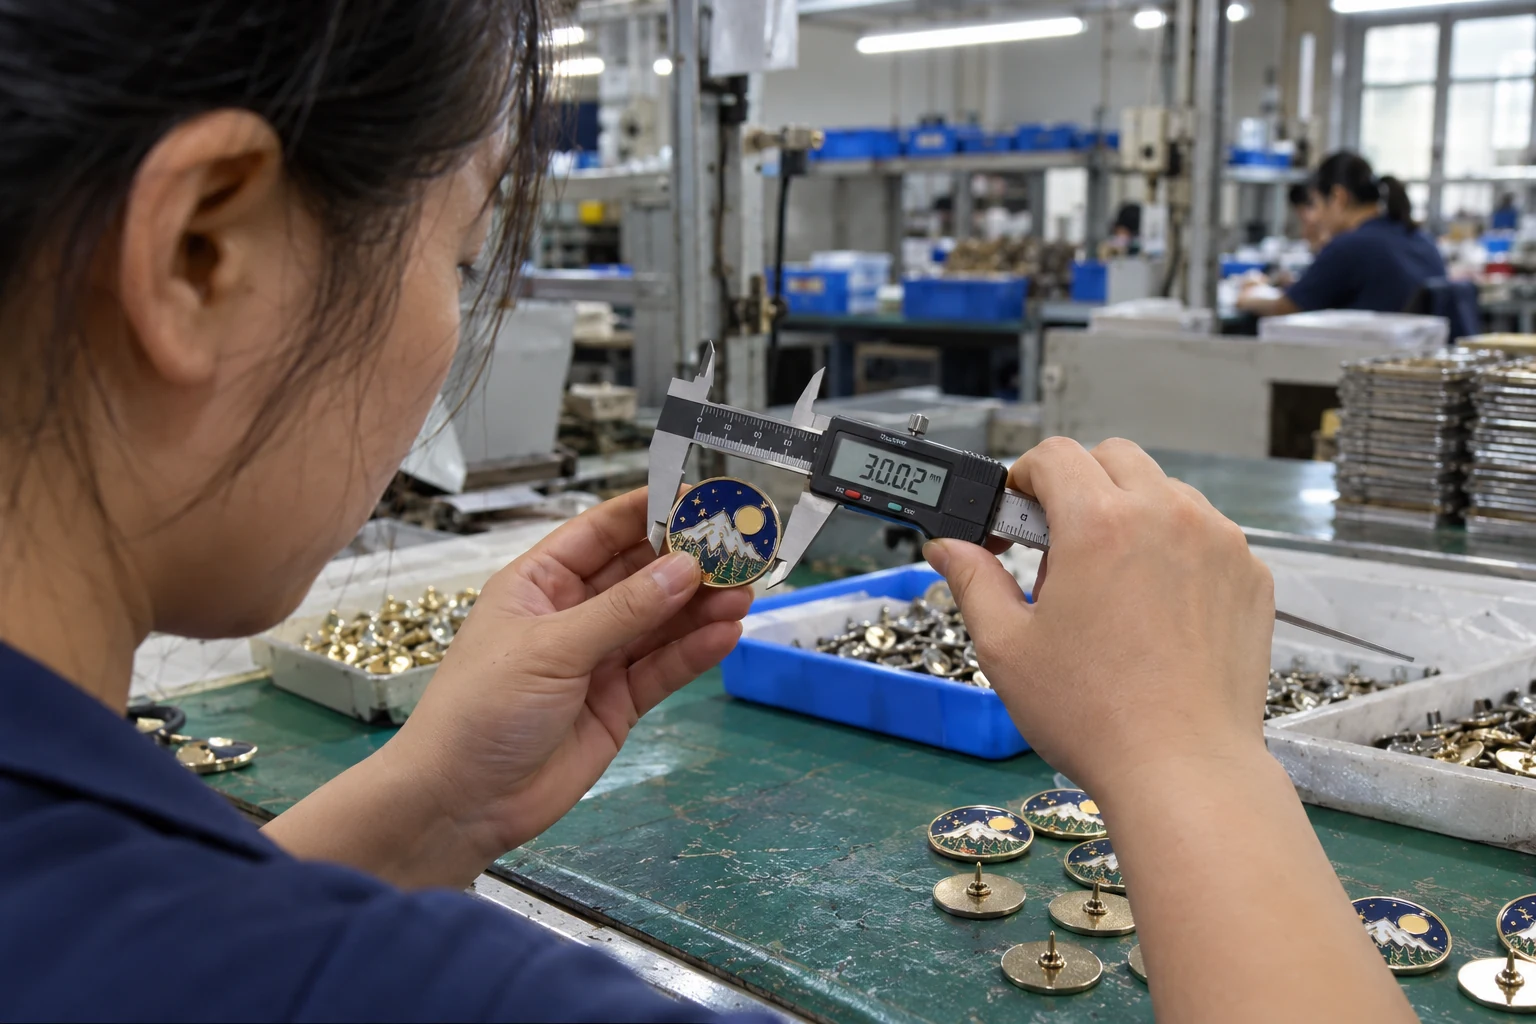
If you like the scale, measure it and record the result. A photo beside a ruler helps communicate the size you have in mind. Our pin size guide explains how the longest edge is measured. For a set, place the pieces together so you can judge their proportions as a group.
Move the surface through the light
Tilt the pin slowly under ordinary room light. Follow the outer edge, then the lines between colored areas. Look for a clear outline, readable lettering and an even overall appearance. Move it away from a strong reflection before judging a dark or pale color.
Touch the front gently. Raised metal and recessed color feel different from a surface polished level. Decide which feeling suits the design and how it will be worn. Use a close-up photo to point out a particular detail, and keep a normal-distance photo beside it so the overall appearance remains part of the discussion.
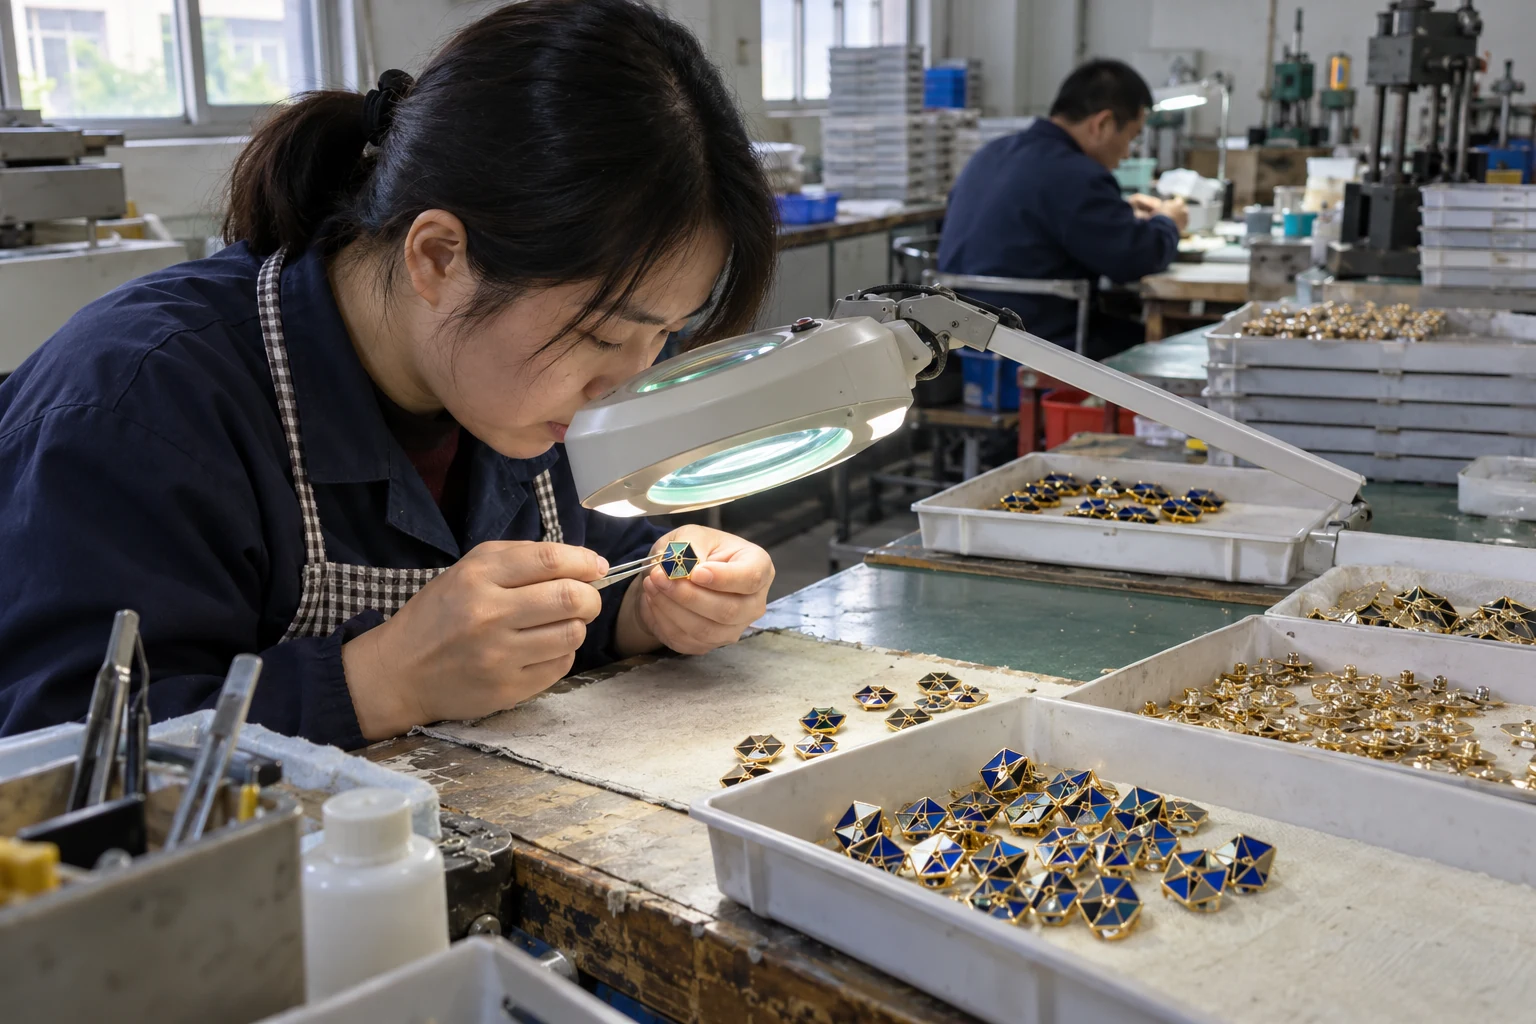
Give the reverse the same attention
Turn the sample over and look at the post position, the attachment and any lettering on the back. Hold the front while fitting and removing the clutch. Notice how easy it is to grip, particularly if people will put the pin on at an event.
Try the attachment on a suitable spare piece of the intended fabric, then check how the pin sits. A sample supplied with one clutch does not settle which attachment you should choose for your order. Compare the mechanisms in our pin backs guide and tell us where the pin will be worn.
Turn observations into a short request
Specific notes travel well from the sample table to the artwork brief. Describe the feature and the change you want: “keep this size,” “use a lighter blue,” “make the year easier to read,” or “choose a back that is easier to remove.” Number your photos if you are comparing several samples.
Separate preferences from defects. A finish can be cleanly made and still be too bright for your design. Likewise, a color you like on a large sample may need a different balance on a smaller pin. Clear notes give the next proof something useful to respond to.
Keep the useful reference close
Keep the sample, its measurements and your notes together while the design is being developed. That small reference set is easier to revisit than a conversation remembered several weeks later. You can explore our sample options if you would like a physical starting point for the comparison.